How to Plan a Mixed-Color Manicure That Still Looks Intentional
A mixed-color manicure becomes easier when the palette and placement are decided before application. Separate the question of which colors belong together from where each fitted tip goes. The arrangement can be symmetrical, tonal or deliberately different across the two hands.
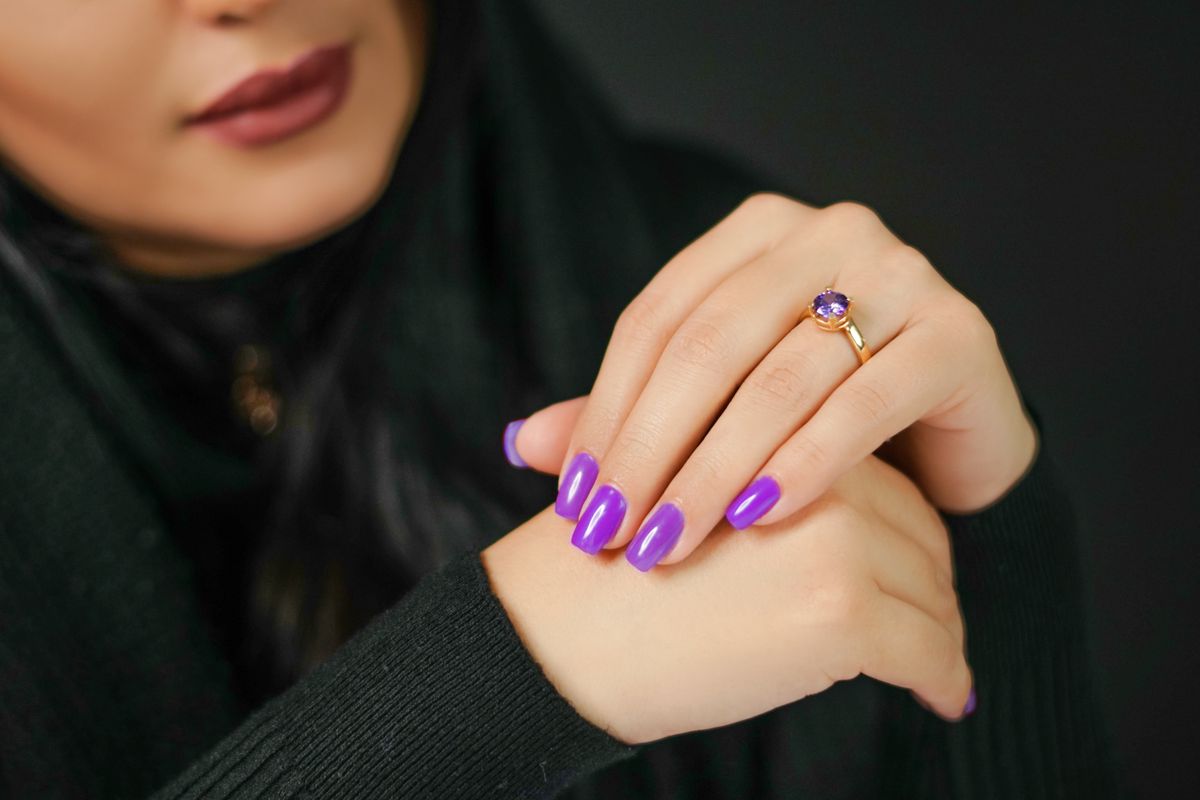
Photo: Pexels · License. Illustrative stock photography; pictured people, products and settings are not claimed to demonstrate this exact guide or endorse this publication.
Choose one organizing idea
Use a tonal sequence, repeated accent or a small family of related shades. Several unrelated ideas can make placement harder to judge. Compare a repeated tonal palette with an unrelated color on every finger.
Limit the first comparison
Start with three colors before expanding to five. Repeat a shade when the available fitting sizes do not support a five-color arrangement. Use two labeled rows and keep the actual fitting tips in their planned positions.
Keep fit ahead of placement
A pretty accent cannot move to a finger where its tip does not fit. Lay out the physical candidates before finalizing the pattern. Use a visible checkpoint: each physical tip fits its assigned finger and the palette has a clear organizing idea
Plan both hands together
Decide whether the hands mirror each other or use a related variation. Photograph the two rows from the wearer perspective. Priority: fit before color placement.
Try a tonal arrangement
A soft rose, muted mauve and deeper plum can form a related group. Repeat rose on the thumb and little finger to anchor the sequence. Consider this specific example: rose and mauve repeat across both hands while plum appears only on fitting ring-finger tips.
Correct an isolated odd color
Remove one shade and compare a quieter neighbor. Changing the whole palette at once makes it harder to identify the mismatch. If one color looks isolated from the rest, first check the isolated color and whether its finish differs. Then compare a related shade before changing the whole set.
Control the finish
Mixing gloss, glitter and matte adds another variable. A shared finish can connect different colors more simply. The practical tradeoff is more colors create variety but require more compatible sizes.
Keep a placement record
Save each finger position with the product names. A palette photo without a size map may be difficult to reproduce later. Before finishing, check both hands together at ordinary viewing distance Record the one detail that would be useful next time: the finger-by-finger color sequence.
Design the palette before assigning fingers
Set three candidate colors together away from the hands and identify what connects them. They might share a muted finish, form a light-to-dark family or repeat one accent. Remove a color that has no clear role and compare the remaining group. Only then bring in the physical tips and the ten-finger map. A palette can look excellent as samples but fail as a wearable set when the available colors do not come in your required sizes. Resolve that practical issue by repeating a fitting shade or changing the arrangement rather than placing the wrong mold on a finger.
Choose whether the two hands mirror each other. If they do not, keep one repeated color or finish to show their relationship. Lay both rows from the wearer perspective and photograph them before application. Check the thumbs as well as the more visible middle fingers; an unexpected thumb accent can change the whole impression when you hold a phone or bag. If one nail feels isolated, compare a softer version of that color before replacing the complete palette. Save both color placement and size placement. A future photograph of attractive colors is not enough to reconstruct which physical tips actually fitted each finger. Keep a separate note for any intentionally different finish. A single glitter accent can connect two otherwise quiet hands, while several unrelated finishes introduce another design decision. If the fitting sizes force a placement change, compare both hands again rather than treating the original color board as an unchangeable requirement.
Your working checklist
Checkmarks stay in this browser when storage is available. They do not submit information or complete a purchase.
Put it into practice
- Choose a tonal or repeated-accent idea.
- Compare three colors together.
- Dry-fit every physical tip.
- Lay out both hands and check the pattern.
- Remove one competing shade if needed.
- Photograph the complete labeled rows.
Before you finish
- The palette has one organizing idea.
- Every assigned tip fits.
- Both hands were planned together.
- Finish differences are deliberate.
Common questions
Must both hands match?
No. They can mirror or use related variations. Decide before application so differences look deliberate rather than accidental.
Can I combine brands?
Fit each tip and follow its own instructions. Do not assume sizes or adhesive systems transfer between products.
What if the accent size is missing?
Repeat a fitting plain shade or change the placement. Do not sacrifice fit to preserve a color arrangement.
How many colors are enough?
There is no fixed number. Three related shades can create variety while remaining easier to coordinate than five unrelated ones.