A Press-On Nail Is Lifting or Missing: A Practical Troubleshooting Guide
A lifted or missing tip is information about the fit, system or tasks, not proof that you simply need stronger glue. Identify what failed before attempting another application. Keep the nail surface and the product instructions central to the decision.
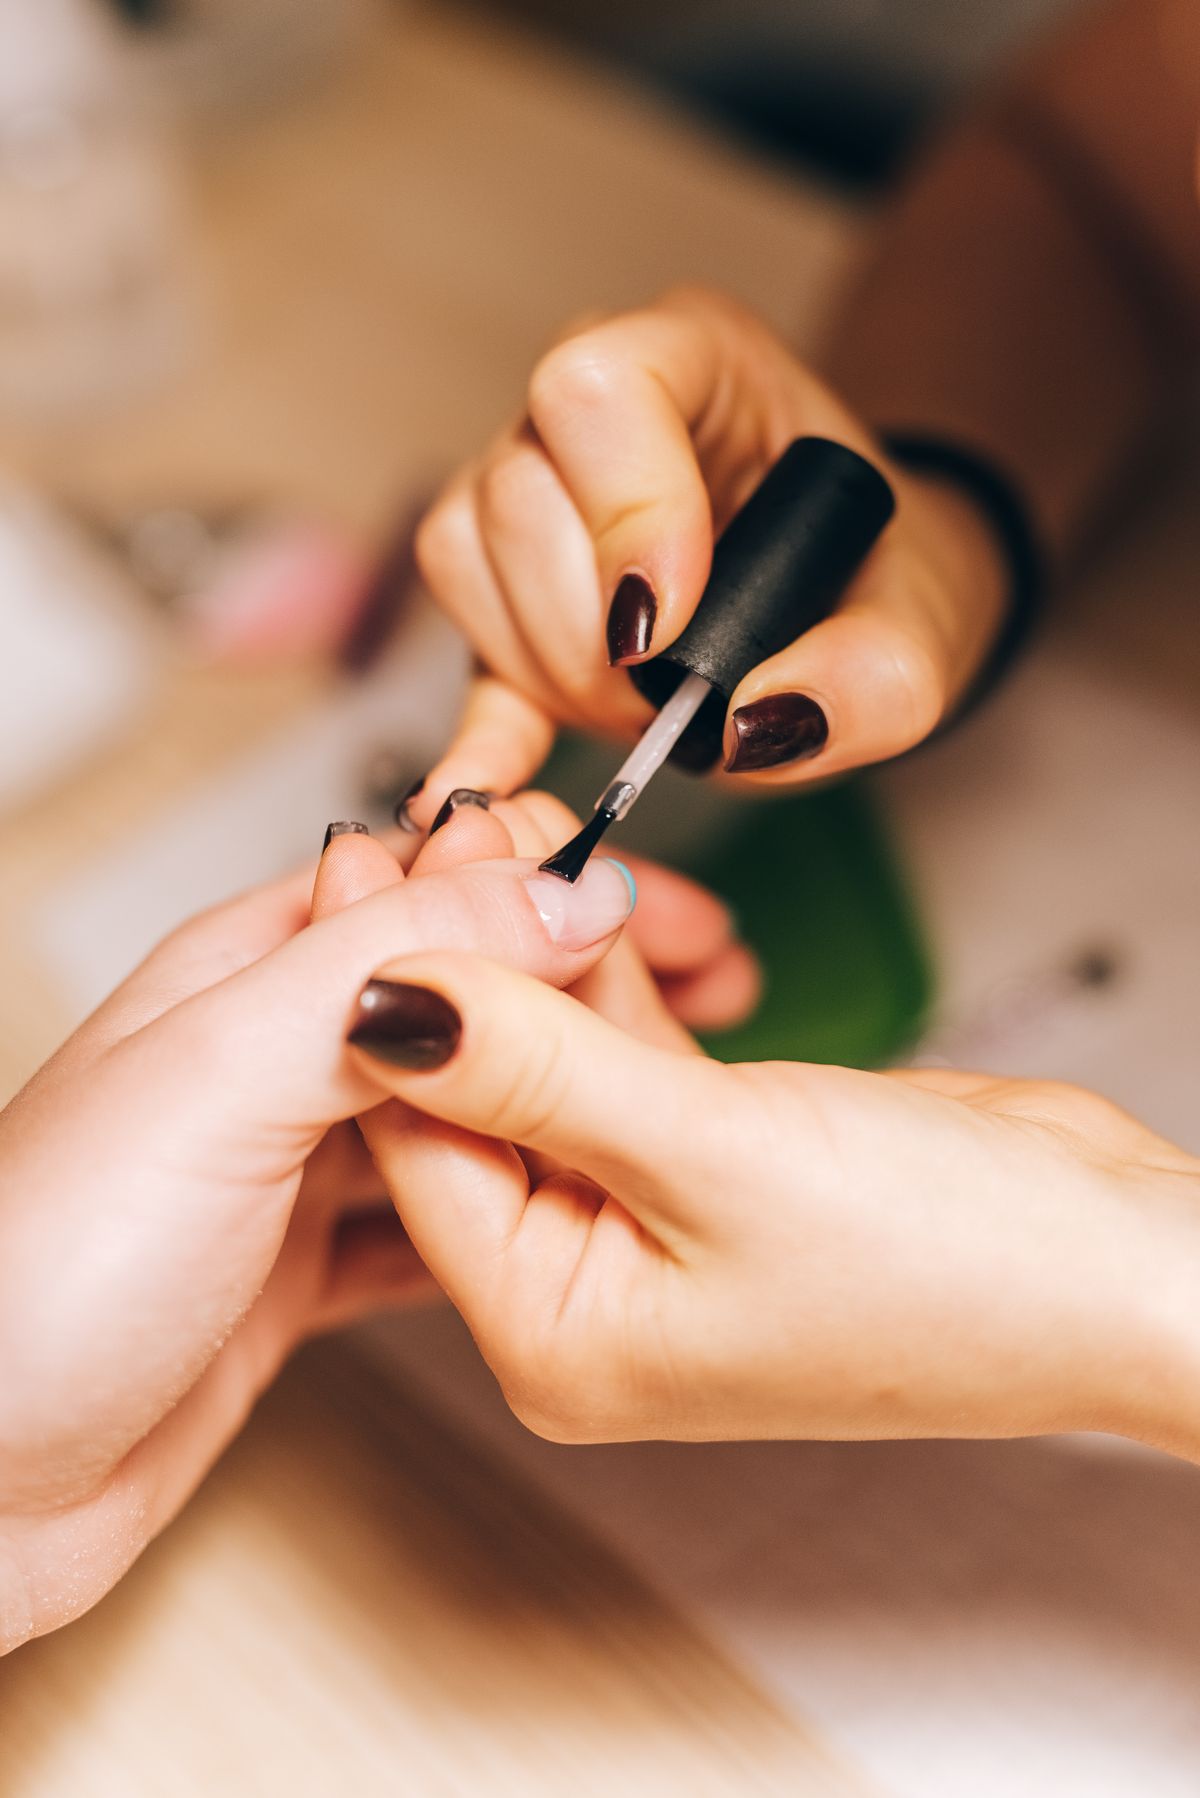
Photo: Pexels · License. Illustrative stock photography; pictured people, products and settings are not claimed to demonstrate this exact guide or endorse this publication.
Identify the type of failure
Distinguish a completely detached tip from a partially attached one. A lifting edge requires a different decision from finding an unused spare. Compare one identified fit or task correction with an unexplained increase in adhesive.
Check the original dry fit
Review width, curvature and base position. A tip that previously rocked may never have been an appropriate candidate. Keep the package, original size map and any suitable spare together.
Review the actual preparation
Compare your steps with the package rather than a social-media routine. Do not compensate for uncertainty by aggressively buffing the natural nail. Use a visible checkpoint: you can name the failure and one relevant cause before attempting a supported replacement
Consider the activity
Repeated contact with a zipper, keyboard or other object may identify a length or corner problem. Adhesive strength does not change that geometry. Priority: understanding the failure.
Use a missing-thumb example
If the thumb repeatedly catches a bag clasp while other tips remain usable, compare its shape and tasks independently from the rest of the set. Consider this specific example: one thumb catches a clasp repeatedly, so a shorter thumb option is worth comparing before changing every nail adhesive.
Avoid sealing over an unexplained gap
Follow the maker instructions for removal and reapplication. Do not simply fill a lifted edge with adhesive while leaving the cause unresolved. If the same finger repeatedly loses its tip, first check fit, contact point and the exact product method. Then review that finger fit and repeated contact separately.
Use spares thoughtfully
A replacement must fit the named finger and belong to a compatible supported process. A similar-looking larger tip is not an emergency size solution. The practical tradeoff is a replacement may preserve the look but does not replace diagnosis.
Record one change for the next attempt
Change fit, length or the supported preparation sequence one at a time. This creates useful evidence instead of a cycle of adding more products. Before finishing, save one concrete observation for the next manicure Record the one detail that would be useful next time: the finger, contact point and single planned change.
Use a failure log with four concrete fields
Write the finger, the type of failure, the activity and the original fit. For example: right thumb, fully detached, caught on bag clasp, slight rocking during dry fit. That observation points to different questions from all ten tips gradually lifting after an application routine that did not match the package. Keep the description neutral; it is evidence about a system and task, not proof of poor personal technique. If a tip remains partly attached, follow the supported removal guidance rather than turning the lifted corner into a place to inject more adhesive.
Before a supported replacement, compare the spare against the named finger again. A near match in color or printed number is not enough if the range or mold differs. If there is no suitable spare, a simpler temporary appearance may be more practical than using an ill-fitting piece to keep all ten visually identical. For the next ordinary manicure, change one relevant variable: the thumb length, the profile or the preparation step you can identify. Do not change every product and then claim to know which one solved the problem. Keep the revised size map and the failure note together so a repeated issue can be recognized instead of treated as a new surprise.
Your working checklist
Checkmarks stay in this browser when storage is available. They do not submit information or complete a purchase.
Put it into practice
- Identify whether the tip is detached or partly attached.
- Locate the original product instructions.
- Review fit, curvature and base placement.
- Check which task contacted the failed tip.
- Use the supported removal or replacement process.
- Record one specific change for the next attempt.
Before you finish
- Partial and complete detachment are distinguished.
- Fit was reviewed.
- No gap is blindly sealed.
- Only a supported replacement is planned.
Common questions
Should I add glue under a lifting edge?
Follow the maker directions and understand the failure first. Do not treat an unexplained gap as a routine place to add adhesive.
Can a missing nail be replaced with any spare?
Only use a tip that fits that finger and a supported application method. Similar color does not establish a compatible size.
Why does only one finger fail?
Its shape or repeated tasks may differ. Compare that finger independently rather than assuming all ten need stronger adhesive.
Does shorter always solve lifting?
No. Length is only one variable. Width, curvature, preparation and system instructions still need to be checked.