Manicure Designs for Close-Up Photos: Color, Scale and Surface Finish
A close-up hand photograph makes small details more visible, but it does not require elaborate nails. Choose the design scale, surface finish and surrounding objects together. A comfortable fitted set remains the starting point, even when the photograph is the main reason for the manicure.
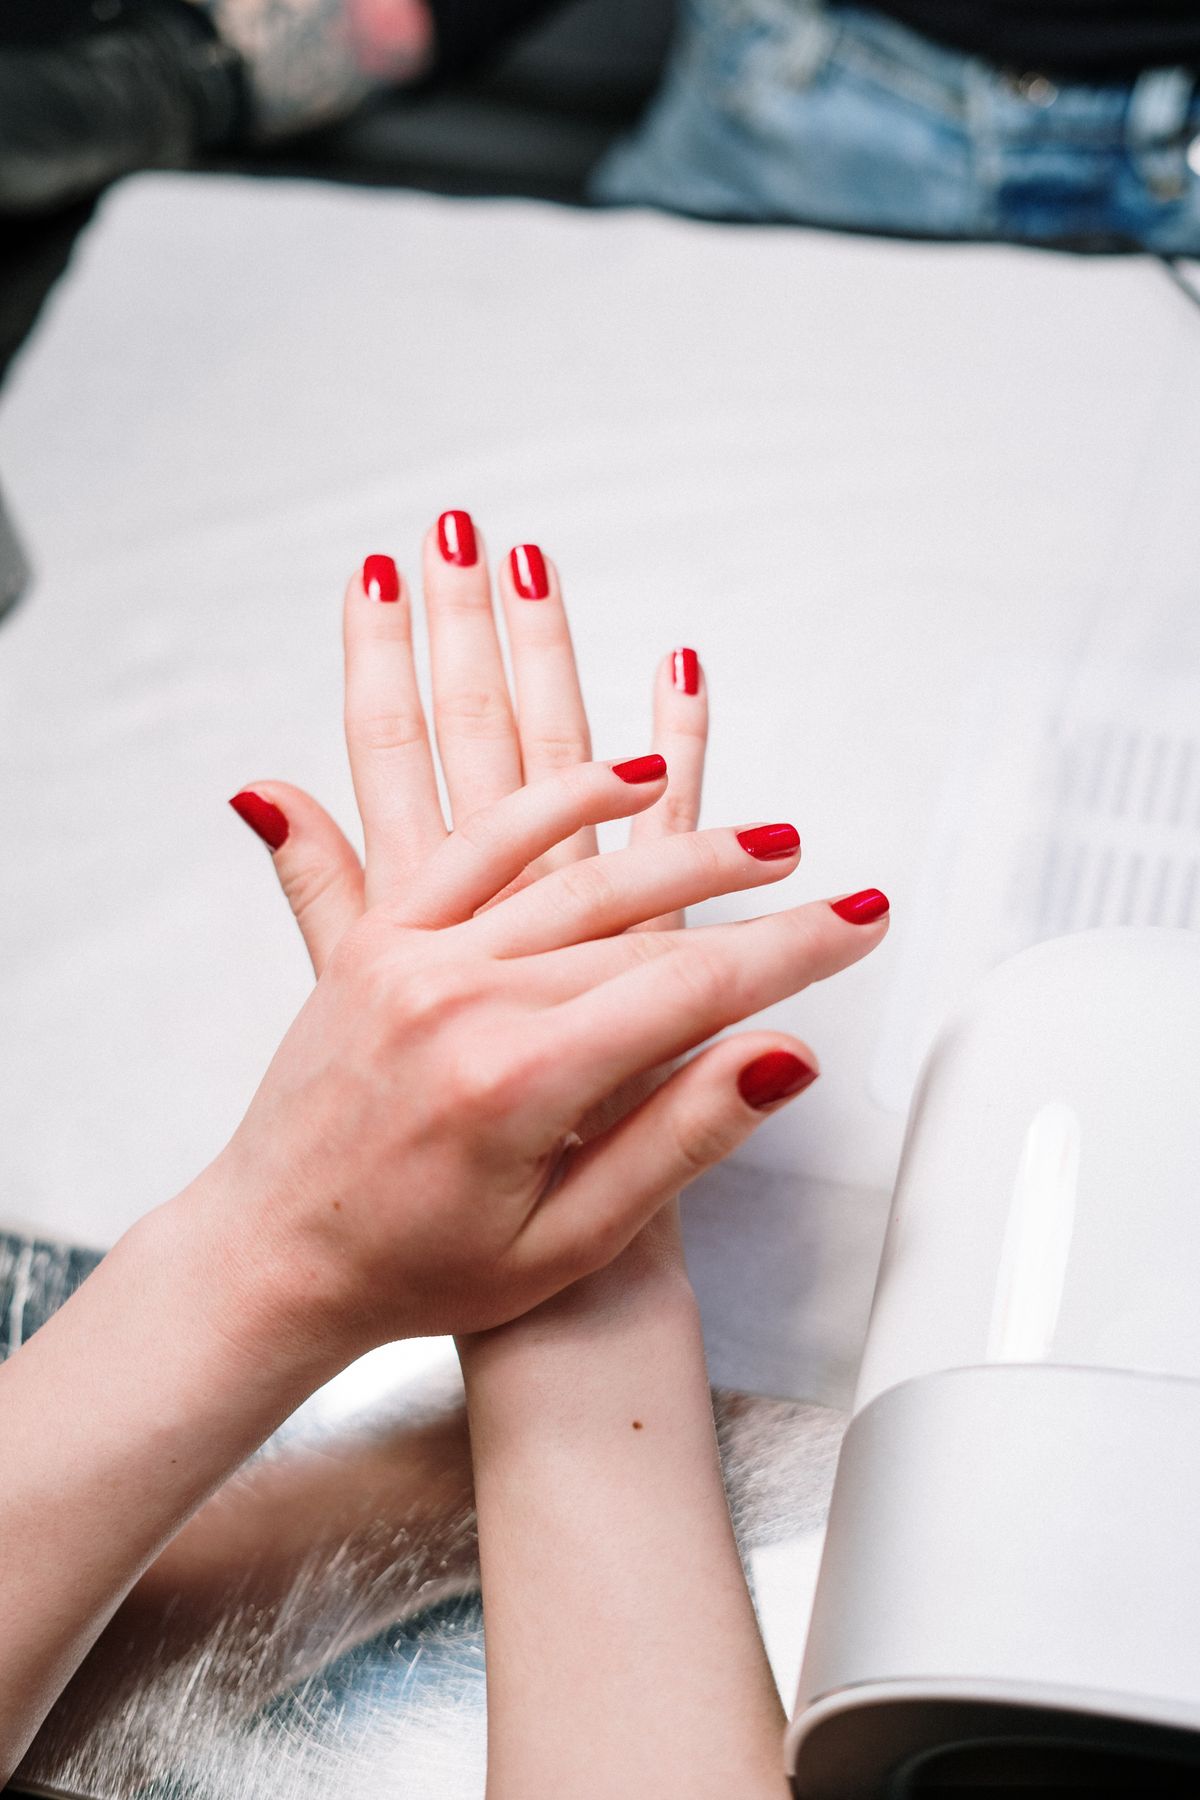
Photo: Pexels · License. Illustrative stock photography; pictured people, products and settings are not claimed to demonstrate this exact guide or endorse this publication.
Decide what the photograph shows
A ring, craft object or manicure itself can be the focal point. Choose the nail detail to support that subject. Compare a quiet design supporting another object with a graphic manicure as the main subject.
Check artwork at the real scale
Tiny motifs can disappear while large patterns can compete with the object. Compare the actual tip beside the item you will hold. Use the actual object, sleeve and background planned for the photograph.
Compare reflective surfaces
Glitter, chrome-like finishes and gloss reflect light differently. Move the hand rather than assuming one bright close-up represents every angle. Use a visible checkpoint: the intended subject remains visually clear at the actual crop
Choose a simple background
A quiet sleeve or table can make the design easier to see. Changing the background may solve a busy composition without changing the manicure. Priority: the chosen photographic focal point.
Use a ring-photo example
A narrow French edge or muted solid can support a detailed ring. A more graphic nail can lead when the manicure itself is the subject. Consider this specific example: a detailed ring leads against a muted manicure, while a bold nail motif leads against a plain object and quiet sleeve.
Troubleshoot color shifts
Compare the sample in the intended light and avoid extreme filters when documenting the actual product. Screens may still alter the final impression. If reflections hide the artwork, first check reflection, motif scale and competing background detail. Then adjust the hand angle or light before replacing the design.
Keep the pose comfortable
A relaxed hand with a usable object position is easier to repeat than a strained pose chosen only to hide an unsuitable extension. The practical tradeoff is strong decoration is visible but can draw attention away from another subject.
Save a realistic reference
Keep one ordinary daylight photograph beside the styled image. This records the actual design without confusing an edited promotional result with everyday appearance. Before finishing, keep an ordinary-light reference alongside the styled image Record the one detail that would be useful next time: the light and angle that showed the design clearly.
Make a simple photograph comparison sheet
Take three views with the same hand position and light: a wider outfit view, the intended close-up and an ordinary unstyled reference. The wider view shows whether the manicure supports the outfit, while the crop shows whether the artwork scale remains legible. Keep the object or ring in the same position so you can see whether changing the manicure would genuinely improve the composition. If a reflective patch hides a motif, rotate the hand or change the light angle before assuming the color is wrong.
For a ring photograph, decide whether the ring detail or nail artwork should lead. A quiet manicure can support a detailed ring, while a bold graphic design may be the main subject against a simpler object. Test a relaxed grip; a strained pose chosen only to display the tip can be hard to repeat and may look less natural. Avoid presenting a heavily recolored image as a faithful product reference. Keep the ordinary daylight frame with the exact range name for future comparisons. That record separates styling decisions such as crop, background and light from the actual physical design. It also prevents a successful edited image from becoming an unrealistic expectation for how the same manicure looks in every room.
Your working checklist
Checkmarks stay in this browser when storage is available. They do not submit information or complete a purchase.
Put it into practice
- Identify the main subject of the photograph.
- Compare the manicure beside that object.
- Check motif scale at the intended crop.
- Move the hand to assess reflections.
- Choose a relaxed pose and quiet background.
- Save an ordinary daylight reference too.
Before you finish
- The main subject is clear.
- Artwork scale suits the crop.
- Reflections were checked at several angles.
- The hand pose is comfortable.
Common questions
Do long nails photograph better?
Not inherently. Length changes the composition, but a short fitted design can be equally deliberate and may suit the object being held.
Is chrome always too reflective?
No. It creates a particular effect that changes with angle and light. Compare it in the intended setting instead of relying on a single image.
Should I edit the color to match the product listing?
Keep a realistic reference if you are documenting the actual item. Strong color changes can make a styled photograph misleading as a product record.
What if the ring and nails compete?
Simplify either the nail detail or the background. Choose which subject leads instead of making every element equally prominent.