How to Size Press-On Nails for Wide or Narrow Nail Beds
Choosing a press-on size involves width, curvature and where the base sits. A number printed underneath a tip is useful within that particular set, but it is not a universal finger size. This guide builds a ten-finger fitting map before any adhesive is opened, with separate decisions for a tip that overlaps skin, leaves exposed nail or rocks at the center.
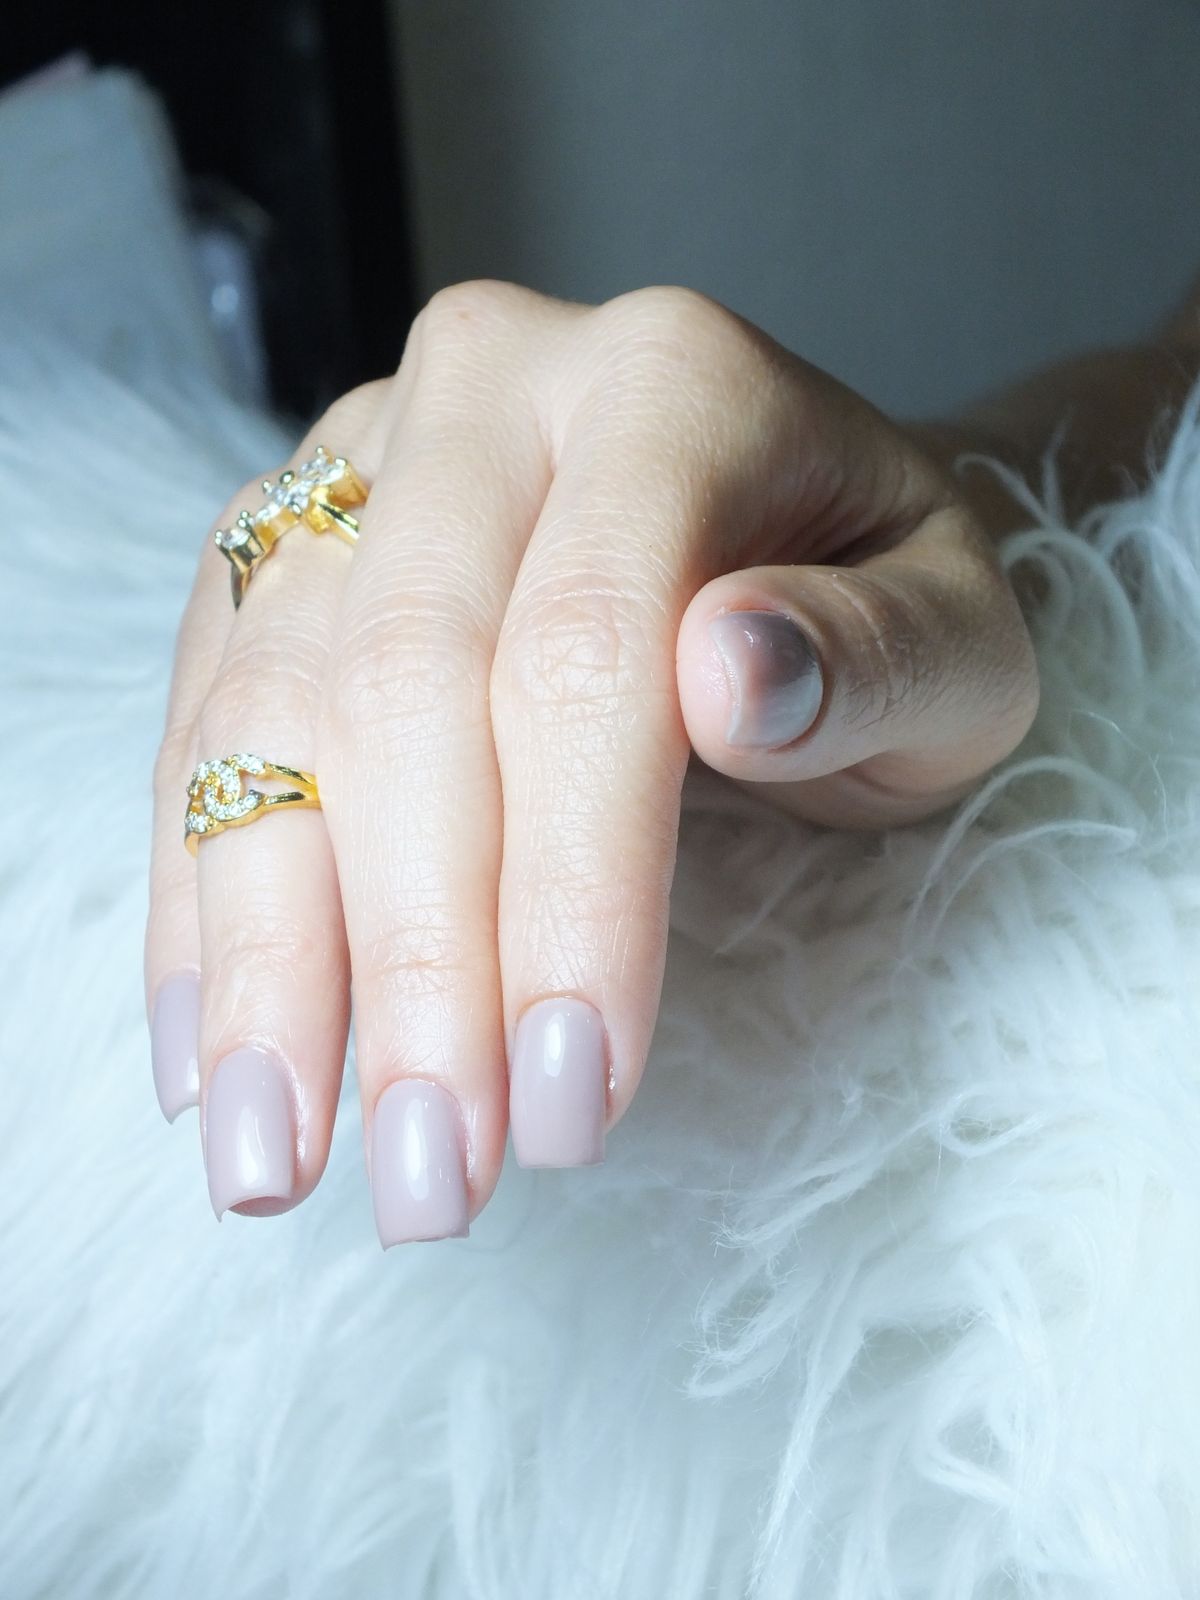
Photo: Pexels · License. Illustrative stock photography; pictured people, products and settings are not claimed to demonstrate this exact guide or endorse this publication.
Separate width from the printed number
Place candidate tips beside each other with their bases aligned. Compare the actual side-to-side coverage rather than assuming two brands use the same numbering system. Compare a wider tip with a suitable curve with a narrower tip that exposes the sidewalls.
Set up a dry fitting row
Make left-hand and right-hand rows on a sheet of paper. Label thumb through little finger so a good fit cannot be accidentally swapped during application. Keep the adhesive closed while sorting; clean, dry handling makes the fitting stage easier to inspect.
Inspect the sidewalls and curve
Rest each tip lightly in position without forcing it flat. A tip that only fits when squeezed may have the wrong curve even when its width appears close. Use a visible checkpoint: the tip rests in position without squeezing and its edges stay off surrounding skin
Follow the chosen brand between sizes
Glamnetic and Dashing Diva publish different between-size directions. Use the instructions for the exact set; neither rule can be transferred automatically to every press-on product. Priority: an unforced physical fit.
Work through a wide-thumb example
A thumb may need the largest tip while the other hand needs the next size down. Check each thumb independently and inspect whether the kit supplies both required pieces. Consider this specific example: your left thumbnail accepts size 1 while the right needs size 0; the correct map records that difference instead of matching the numbers for appearance.
Troubleshoot a rocking or pinching tip
If the center rocks or the sidewalls pinch, compare a different curve or range. More adhesive is not a substitute for a shape that rests comfortably. If the tip rocks when you release it, first check whether the width is wrong or the curve is lifting the center. Then compare another curvature or a different product range.
Decide whether adjustment is permitted
Only adjust the artificial tip where the manufacturer permits it. Filing a decorative edge may remove its finish; changing the natural nail to force a tip fit is a different procedure. The practical tradeoff is a suitable shape may matter more than keeping a particular decorative design.
Save a reliable size map
Write the set name, product range and individual finger numbers. Add a note about curvature or any permitted tip adjustment so a later reorder can be checked again. Before finishing, check that every selected tip has a clearly identified finger Record the one detail that would be useful next time: the exact range and the two thumb sizes.
A finger-by-finger fitting exercise
Work in a fixed order so each rejected tip has a clear reason. On the left thumb, compare two nearby widths and look at the base first, then the two sides, then the arch. Put the rejected candidate aside with a short note such as overlaps left skin or lifts at center. Repeat on the right thumb without copying the first result. Continue through index, middle, ring and little fingers. The smallest finger is worth the same attention as the thumb: a narrow tip can still have an unsuitable curve. If the number is difficult to read, photograph the underside beside the hand label before returning it to the row.
Now lift all ten chosen tips off the paper and replace them using only your labels. If two positions remain uncertain, the map is not ready for adhesive. Resolve those fingers by another dry fit. Finally, count the actual copies of each number rather than assuming the box contains two of every size. A set can provide many tips while still lacking the second copy you need. For an online custom order, ask whether the sizing sample and finished design use the same mold. Keep a top view and a profile view when asking customer support about a persistent mismatch; explain whether the problem is exposed sidewall, skin overlap or central rocking. Those observations answer different fit questions.
Your working checklist
Checkmarks stay in this browser when storage is available. They do not submit information or complete a purchase.
Put it into practice
- Read the set instructions and separate at least two candidate tips for each finger.
- Dry-fit one finger at a time without adhesive, starting with the thumbs.
- Check the base position and both sidewalls with the finger relaxed.
- Try another shape when a tip rocks or requires pressure to flatten.
- Place the selected ten tips in labeled left and right rows.
- Photograph the map before moving to the product-specific application instructions.
Before you finish
- All ten fingers were fitted separately.
- No tip rests on surrounding skin.
- Any tip adjustment is allowed for that product.
- The size map identifies the range as well as the numbers.
Common questions
Can both hands use the same size sequence?
Sometimes, but do not assume it. A matching finger can differ in width or curvature. Fit all ten individually, then record both rows rather than buying a second set solely because an expected number is missing.
Should I always size up between two tips?
No. The checked manufacturers disagree because their products differ. Follow the specific set instructions and reject any option that overlaps skin or needs force to sit down.
Can I measure with a flexible tape?
A curved-width measurement can help compare a seller size chart, but a flat measurement and a curved surface are not interchangeable. A physical dry fit still checks curvature and base position.
What if no supplied tip fits my thumb?
Choose a different range or ask the manufacturer about replacement sizes. Do not force the largest tip into place or cover the gap with extra adhesive.