Make a Ten-Finger Press-On Size Map Before You Apply Adhesive
A size map turns a loose pile of tips into an ordered application plan. It is particularly useful when both hands need different numbers, a set contains several similar designs or you are preparing an event manicure in advance. Keep sizing, decoration order and adhesive handling as separate tasks.
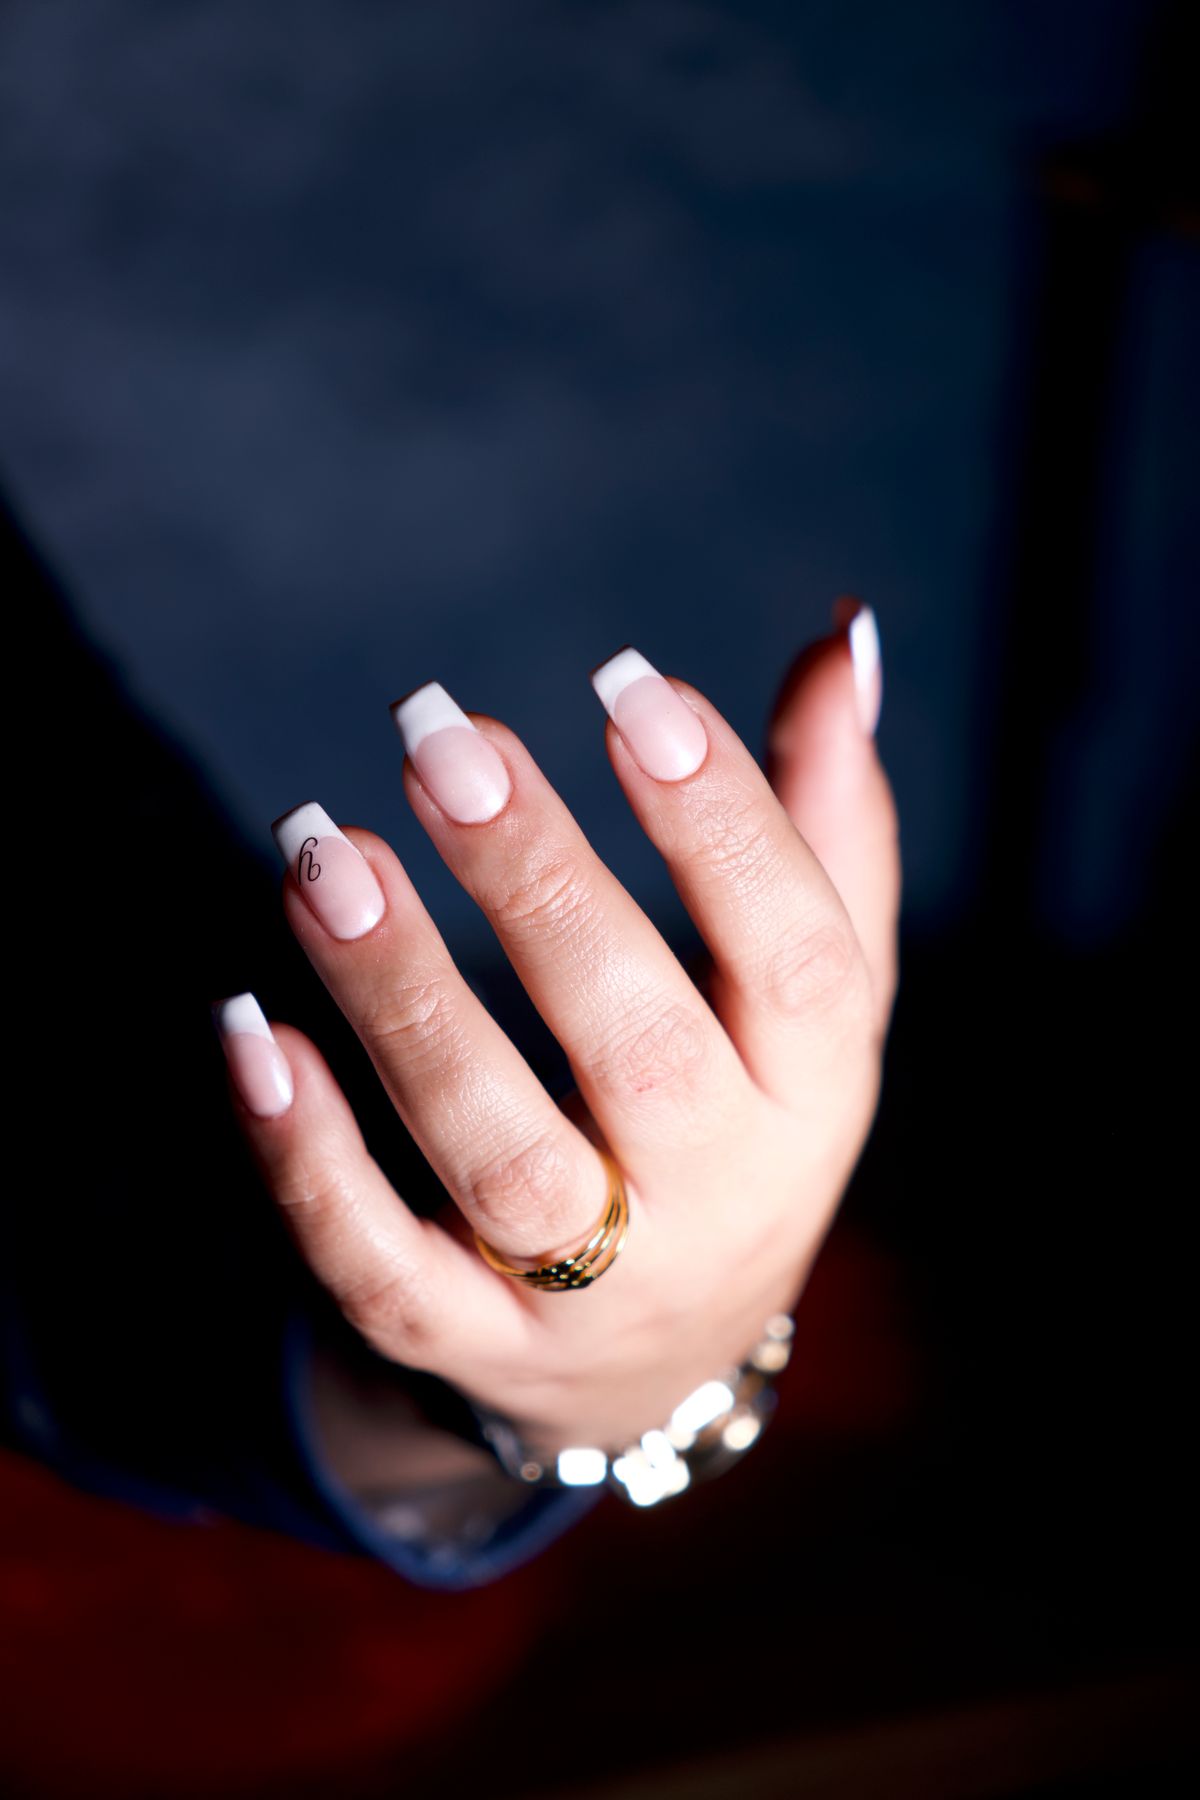
Photo: Pexels · License. Illustrative stock photography; pictured people, products and settings are not claimed to demonstrate this exact guide or endorse this publication.
Label hands from the wearer perspective
Write left hand and right hand clearly. A photograph of hands facing the camera reverses the appearance; labels prevent transferring the wrong row during application. Compare two fully labeled rows with a loose pile sorted only by approximate size.
Separate finger identity from design position
The accent nail may be intended for a ring finger, but fit comes first. Do not choose a poorly fitting accent solely to preserve the box photograph. Use a clean sheet and keep the active adhesive area separate from the sorting area.
Sort duplicate sizes visibly
Count how many copies of each needed size are supplied. This prevents discovering at the last finger that the second thumb tip was used elsewhere. Use a visible checkpoint: every tip can be assigned to a named finger without guessing
Check the tiny underside markings
Read the number while the tip is still loose. If the mark is unclear, photograph it or note another identifier without writing on the bonding surface. Priority: correct finger identification.
Use an asymmetric-hand example
Your left middle finger might fit a different size from the right. Two complete rows preserve that information even if the hands look similar. Consider this specific example: the left and right ring fingers need different numbers, so a mirrored row would be wrong even though the accent pattern appears symmetrical.
Troubleshoot a mixed-up row
Return to dry fitting rather than guessing from relative length. A large ring-finger tip can resemble a small middle-finger tip when the pattern is similar. If two similar tips are mixed together, first check the written hand label and the underside size mark. Then repeat the dry fit and restore the labels before continuing.
Move to adhesive in a controlled order
Once the full map is complete, follow the product application sequence. Keep unused tips away from the active adhesive area so an accidental spill does not affect the whole kit. The practical tradeoff is a few minutes of sorting avoids interruptions when handling adhesive.
Store the map with the exact range
A manufacturer may use different sizing between product lines. Attach the set name and shape to the record; the numbers alone are incomplete information. Before finishing, confirm that the second copy of every repeated size is present Record the one detail that would be useful next time: both full size sequences and the exact product range.
A map that survives packing and interruptions
Draw each hand as a numbered list rather than relying on a photograph alone: left thumb, left index and so on. Beside each position, write the printed size and any design identifier. Then add a separate count of how many physical tips of each needed size exist. This catches the case where both middle fingers need one number but the design only includes one usable copy. Put accent placement in a different column, because fit and decoration answer separate questions. The completed map should identify a tip even if you move the paper or turn it around.
If you pause the project, store the selected tips in a divided container matching those labels. Do not leave ten loose pieces in a single pouch and assume their relative lengths will restore the order. Before application, compare the container with the written map and dry-fit any uncertain piece again. For travel, save a clear photograph of the map and exact range name on your phone. A spare should be labeled for the finger it actually fits, not simply called spare nail. When the next set arrives, use the old map as a starting reference, then recheck the physical fit. Manufacturing range, shape or mold changes can make a familiar sequence less reliable than it appears.
Your working checklist
Checkmarks stay in this browser when storage is available. They do not submit information or complete a purchase.
Put it into practice
- Draw two five-position rows and label every finger.
- Fit both thumbs and place their candidates in the correct positions.
- Fit the remaining fingers independently rather than copying the opposite hand.
- Count duplicate sizes and identify any missing required pieces.
- Photograph the finished map with the package name visible.
- Apply in the supported product order while keeping the map nearby.
Before you finish
- Left and right are labeled from your perspective.
- All ten physical tips are present.
- The map identifies the product range.
- Design position never overrides an appropriate fit.
Common questions
Do I need to measure every finger first?
Not necessarily. A physical dry fit can establish the map. Measurements are useful when a seller asks for them, but must follow that seller method.
What if the accent tip does not fit?
Choose a fitting plain tip or another design arrangement. Decoration does not compensate for an edge that overlaps skin or a curve that rocks.
Can I reuse the map for another brand?
Use it only as a reminder of your proportions. Repeat the fitting because size numbers and molds differ between brands and ranges.
Should I write the size on my natural nail?
A paper or phone record is enough. Keep the nail surface free of unnecessary marks or products before following the intended preparation instructions.