How to Choose Nude Manicure Colors Across Different Skin Tones
A nude manicure can blend with your hands or deliberately contrast. There is no universal nude, and screens cannot reproduce every lighting condition. Compare depth, undertone and opacity separately instead of trying to follow a fixed skin-tone rule.
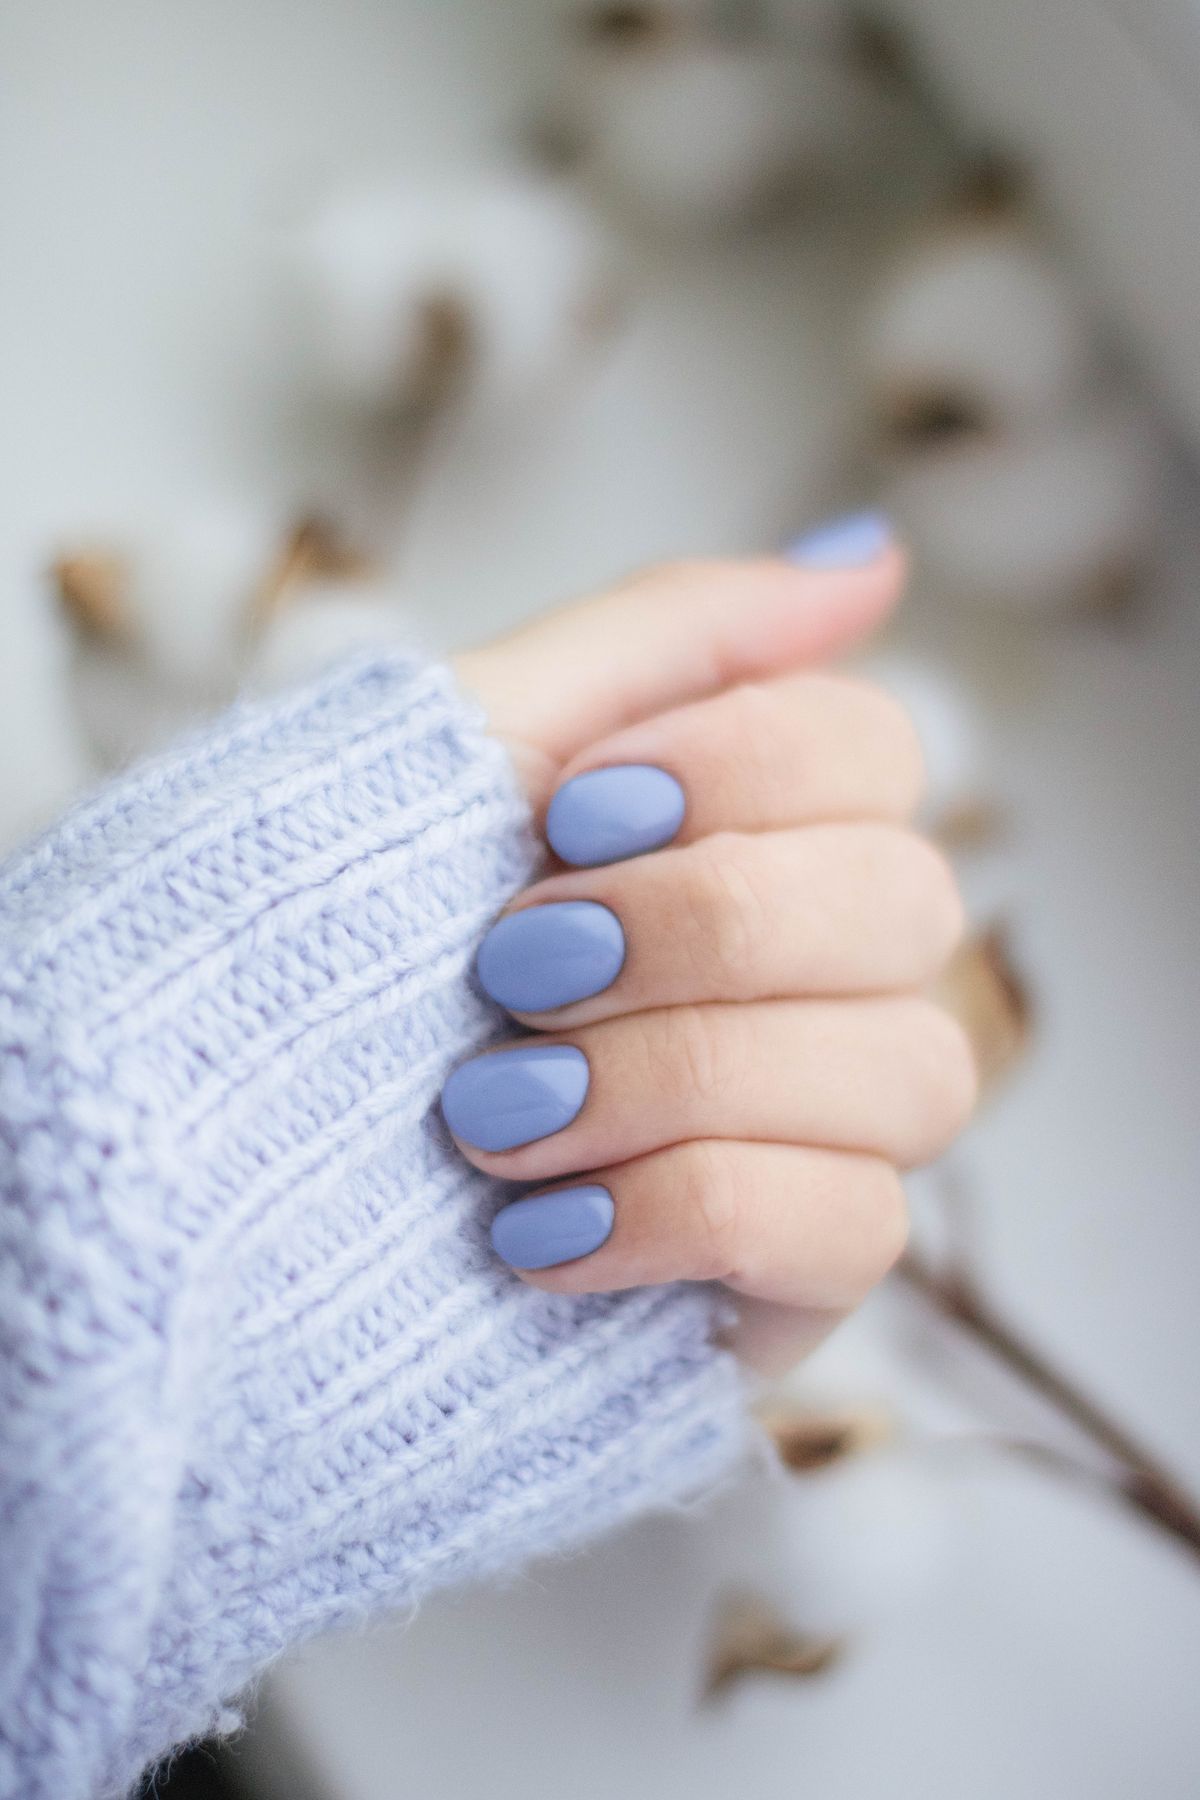
Photo: Pexels · License. Illustrative stock photography; pictured people, products and settings are not claimed to demonstrate this exact guide or endorse this publication.
Choose blend or contrast
A close tonal match differs from a pale cream or deep brown accent. Neither effect is inherently more correct. Compare a close tonal blend with a contrasting neutral accent.
Compare depth first
Place lighter, medium and deeper candidates beside your hand. Decide how much contrast you enjoy before judging subtle undertone differences. Keep three candidate shades beside one familiar sleeve.
Check the actual undertone
Compare rosy, peach, caramel and gray-leaning options visually. Color names are useful descriptions, not reliable matches between brands. Use a visible checkpoint: the depth and undertone appeal to you beside your own hand in ordinary daylight
Separate opacity from shade
A sheer-looking finish and opaque tip can create different effects in the same color family. Look at the actual piece when possible. Priority: your preferred level of contrast.
Use a deeper-neutral example
A rich cocoa can offer a quieter tonal effect than pale beige on one person. Another person may intentionally prefer that pale contrast. Consider this specific example: a rich warm brown looks quieter than pale beige against one hand, while the pale shade remains a valid stronger-contrast option.
Troubleshoot gray or orange impressions
Compare a neighboring undertone at the same depth before abandoning neutrals. Change one visual variable at a time. If a shade looks unexpectedly gray or orange, first check depth, undertone and opacity as separate variables. Then compare a neighboring undertone at the same depth.
Include jewelry and clothing
Hold the sample beside familiar metal jewelry and a usual sleeve. The manicure will be worn within that visual context. The practical tradeoff is closer blending is subtle while stronger contrast emphasizes the nail outline.
Save a useful reference
Photograph the favorite beside its package in indirect daylight. Treat the photograph as a comparison record rather than a calibrated color standard. Before finishing, check the favorite beside bare skin and a normal outfit Record the one detail that would be useful next time: the depth and undertone you actually preferred.
Build a useful three-swatch comparison
Start with three depths in a similar color family rather than many unrelated neutrals. Hold them beside the same finger in the same light. Ask whether the lighter, middle or deeper contrast is the effect you enjoy. Only after choosing that contrast should you compare a warmer and cooler version. This avoids mistaking a large depth difference for an undertone problem. If the product is opaque, assess the whole solid tip; if it is sheer-looking, check the actual finished appearance rather than assuming the base will behave like an opaque swatch.
Then bring in two familiar clothing colors and the jewelry you usually wear. A shade that appears quiet against bare skin can become more noticeable beside a white cuff or dark sleeve. That is useful styling information, not proof that the shade is wrong. Make two notes: preferred contrast and preferred undertone. Photograph the chosen sample beside its package under ordinary light, without a strong color filter. Keep the rejected comparison in the same photograph if you want a clearer shopping reference later. Screens, cameras and surrounding colors can still change the impression, so the record helps you remember a relative preference rather than establishing a calibrated match for every future product. If shopping for someone else, ask whether they want a close blend or visible neutral contrast rather than selecting a color from an assumed skin-tone category. A photograph of their favorite existing manicure can communicate that preference more clearly than a generic description such as natural, classic or nude.
Your working checklist
Checkmarks stay in this browser when storage is available. They do not submit information or complete a purchase.
Put it into practice
- Decide between blending and visible contrast.
- Compare three depths beside your own hand.
- Compare warmer and cooler shades within the preferred depth.
- Check opacity and finish on a real sample if available.
- Compare the favorite with familiar clothing.
- Save the product name and daylight reference.
Before you finish
- Contrast was chosen intentionally.
- Undertone and depth were assessed separately.
- Opacity was checked.
- No universal skin-tone formula is assumed.
Common questions
Is nude the same as beige?
No. Many brown, pink, peach and other neutral shades can serve that styling role. The useful choice depends on the effect you want.
Should it exactly match my skin?
Only when close blending is your preference. A lighter or deeper shade can look equally intentional when the contrast is chosen deliberately.
Can I choose from one phone picture?
Use it as a starting point. Lighting, camera processing and screens can shift the impression, so check a sample or return conditions when practical.
Why does the shade change beside another outfit?
Nearby colors affect visual comparison. Check the combination with clothes and jewelry you actually wear rather than judging the tip only against an empty background.