Press-Ons for Flat or Curved Nail Beds: How to Assess the Fit
A press-on can look correct from above and still fit poorly in profile. Its arch, sidewall depth and base shape determine whether it rests against your nail or has to be pushed into place. This guide separates curvature from width so you can identify the mismatch before trying to solve it with adhesive.
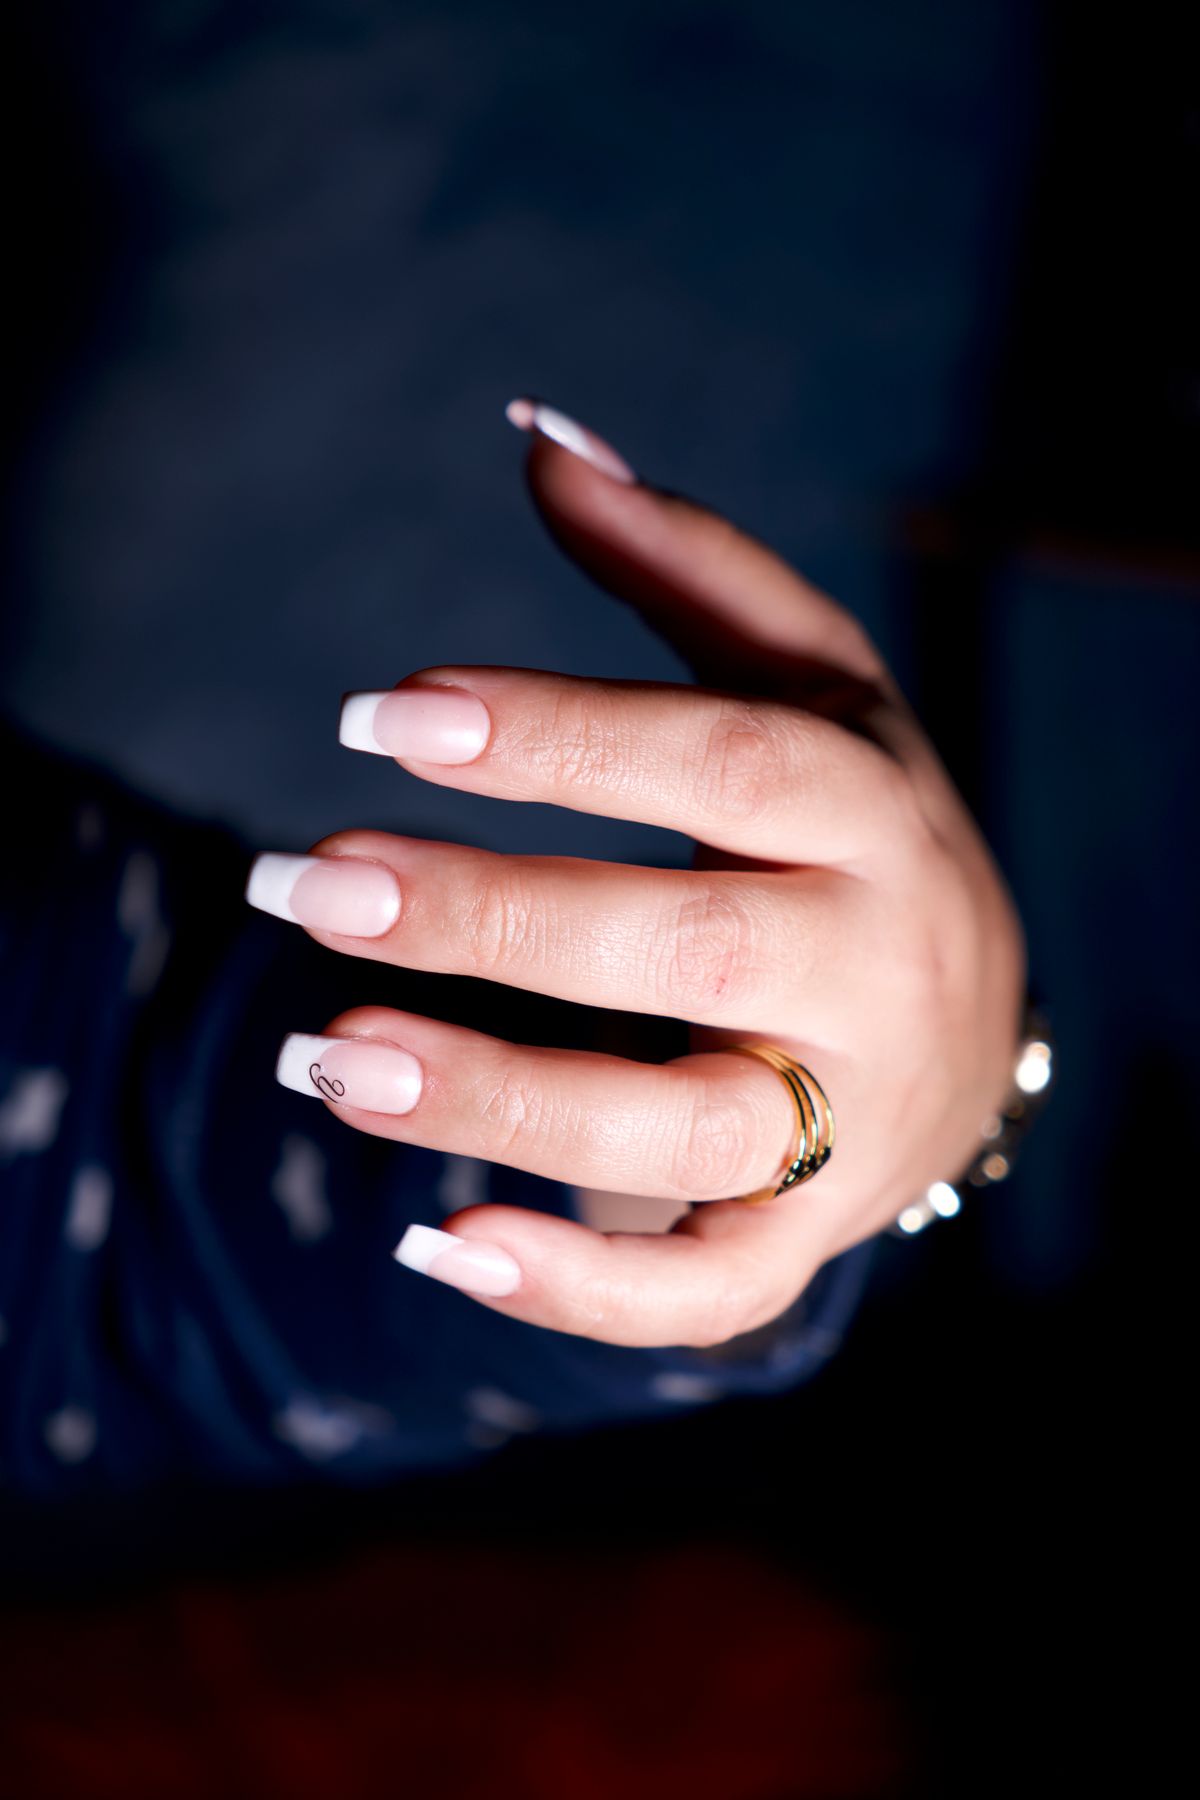
Photo: Pexels · License. Illustrative stock photography; pictured people, products and settings are not claimed to demonstrate this exact guide or endorse this publication.
Look from the side and the front
Inspect the candidate tip at fingertip height. A top-down photograph can hide a gap under the arch or a side edge that presses into the surrounding skin. Compare a tip whose arch rests naturally with a tip that must be pressed flat.
Keep width and curvature as separate notes
A wider size may also have a different arch. Record which feature improved, because moving through size numbers alone may never solve the curve mismatch. Use a mirror or a side-view phone photograph, but keep the tip unglued while comparing profiles.
Check whether pressure changes the shape
Rest the tip in position, then release your supporting finger. If it springs away or rocks, stop treating that candidate as a settled fit. Use a visible checkpoint: the tip remains resting without rocking after you release supporting pressure
Compare ranges rather than forcing one set
Different designs can use different molds even within a brand. Ask the maker about profile or sizing information when the listing only gives a flat width. Priority: an unforced curve match.
Use a flatter-nail example
A narrow tip might cover the visible width but lift at the center. A different profile can be more relevant than adding adhesive under the gap. Consider this specific example: a medium-width tip fits from above yet lifts in the middle; a flatter-profile range resolves the shape issue without changing the natural nail.
Troubleshoot side pressure
When both sides dig in but the center floats, the problem may involve the overall shape. Reject a tip that needs sustained pressure to stay flattened. If the center lifts while the sides press down, first check the profile of the artificial tip against the nail rather than adhesive strength. Then compare another profile and keep width notes separate.
Do not reshape the natural nail for a product
This guide covers consumer fitting, not thinning or drilling the natural nail. Adjustment, where permitted, belongs to the artificial tip and must preserve its usable structure. The practical tradeoff is the design you prefer may not be available in the profile that fits best.
Keep a profile reference
Photograph the empty tip from the side next to its package label. This can help customer support understand the fit question better than saying that size four was wrong. Before finishing, check each finger independently before copying a choice across the hand Record the one detail that would be useful next time: which range and profile rested comfortably.
Document a profile mismatch clearly
To describe a difficult fit, use three separate observations. First, state whether the tip covers the visible width without extending onto skin. Second, describe what happens at the center when the tip is resting lightly. Third, say whether the side edges press down while the center remains raised. These details are more informative than saying the nail is too small. A larger number or wider mold may alter more than one feature, so compare the new tip from the same angles and note which part actually changed.
For example, candidate A can have the right width but a high arch, while candidate B covers too much skin even though its arch appears lower. Neither is the correct solution simply because it improves one feature. Look for a different profile or product range rather than combining the shortcomings with extra adhesive. A maker sizing kit is useful only when it represents the same mold as the final product. Ask that question before paying for a custom design. Keep your photographs unglued and clearly labeled left or right so support can understand the resting shape. Do not heat, bend or chemically soften a tip based on an unrelated tutorial. If no suitable profile is available, another manicure format is a practical choice rather than a fitting failure.
Your working checklist
Checkmarks stay in this browser when storage is available. They do not submit information or complete a purchase.
Put it into practice
- Dry-fit a tip that is close in width without opening adhesive.
- Inspect its base and both sidewalls from above.
- Look along the fingertip to compare the arch.
- Release the tip and observe whether it rocks or springs upward.
- Try a different profile or range if width changes do not solve the mismatch.
- Save both a top and side view of the suitable candidate.
Before you finish
- The tip was viewed from more than one angle.
- Pressure is not required to flatten it.
- No surrounding skin is covered.
- The natural nail was not altered to force a match.
Common questions
Can extra glue fill a curvature gap?
Do not use more adhesive as a substitute for an appropriate fit. Follow the quantity and method on the package after choosing a tip that rests properly.
Do all fingers have the same curve?
No. Fit each finger rather than assuming one profile decision applies to the whole hand. Thumb shape can differ noticeably from the smaller nails.
Can heat flatten a press-on?
Do not improvise heating, bending or chemical softening. Choose a compatible product or use a maker-approved adjustment method if one is explicitly supplied.
Should I buy a custom sizing kit?
It can be helpful if a seller offers one for the exact range. Confirm that it uses the same tip mold as the finished set; otherwise the apparent test may not answer your fit question.