A Small Travel Manicure Kit for Press-On Wearers
A travel kit should support the manicure you actually use, not contain every nail product you own. Identify the adhesive, a realistic replacement option and the removal plan first. Keep labels and current transport rules separate from assumptions about what is allowed in every bag.
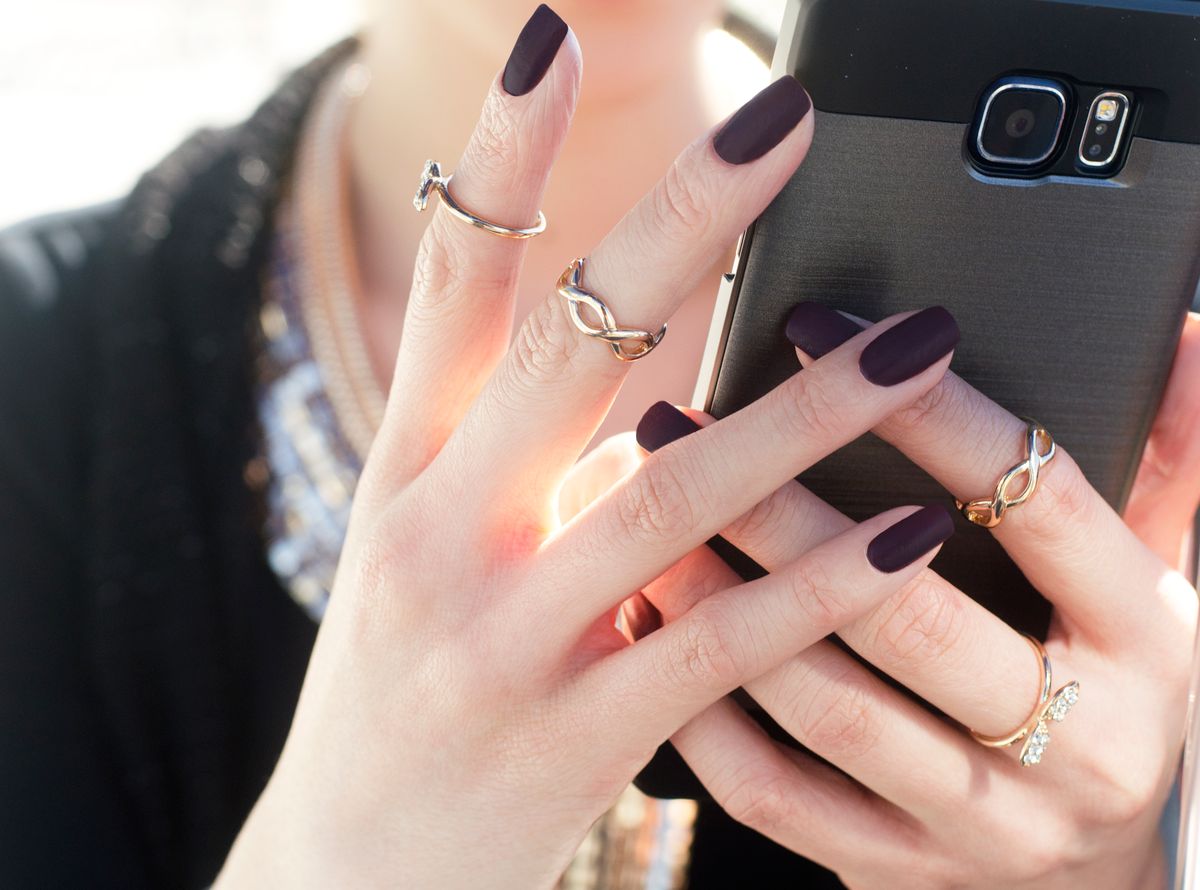
Photo: Pexels · License. Illustrative stock photography; pictured people, products and settings are not claimed to demonstrate this exact guide or endorse this publication.
Start with the actual system
Write the tip range and adhesive name. This determines which small supplies are useful and which unrelated products can stay home. Compare a few labeled compatible supplies with an unmarked collection of unrelated products.
Pack a fitting spare
A spare without the correct size offers little help. Label it by finger and keep it protected from bending and loose adhesive. Lay out the whole kit beside the original instructions before packing.
Keep original containers
Warnings and product identity matter during travel. Do not transfer nail glue or remover into an unmarked cosmetic pot. Use a visible checkpoint: every packed item supports the identified manicure and has a clear purpose
Check transport requirements
Consult the carrier and relevant transport authority for the current rules applying to the specific product. A cosmetic label does not automatically establish baggage permission. Priority: product identity and a realistic removal plan.
Use a weekend example
For a two-night event trip, a fitted spare and an identified removal option may be enough. A large collection adds clutter without solving the likely problem. Consider this specific example: a weekend traveler packs one fitting thumb spare and confirms remover at the destination rather than carrying an entire unsorted box.
Avoid a rushed repair station
A moving vehicle or crowded airport table is a poor place for precise adhesive handling. Wait for a stable appropriate area. If you cannot identify a decanted product, first check the actual system and relevant transport requirement. Then replace it with the original labeled container or leave it out.
Plan destination removal
Confirm supplies at the destination or choose a system that suits what you can obtain. Do not rely on a hotel having a particular remover. The practical tradeoff is a smaller kit is convenient but requires choosing likely needs in advance.
Review the kit after travel
Remove products that were unnecessary and note the missing item that would have helped. Keep the pouch tied to one supported manicure system. Before finishing, confirm current travel requirements for the specific products Record the one detail that would be useful next time: the item that was genuinely useful during the trip.
Pack by product role rather than pouch space
Divide the list into three jobs: maintaining the current manicure, making a supported replacement if needed, and removing it. A fitting spare belongs to replacement; a photo of the size map supports identification; the named remover belongs to removal. One item may not solve all three jobs. Pack each original container securely and keep the instructions accessible. Check the current carrier and authority rules for the specific route and product instead of inferring permission from a small bottle size or a cosmetic category.
For a short trip, count the spares that fit likely problem fingers rather than carrying a full unsorted assortment. Label left and right when their sizes differ. Protect decorative tips from pressure in a divided holder, but do not mix previously worn tips with unused spares. Confirm where removal will take place and whether the correct supplies are available there. If a tip changes during travel, choose an appropriate stable setting before following the product process; a moving seat or crowded transit counter is not a useful repair station. After returning, remove items that had no purpose and note the one missing supply that would actually have helped. This keeps future kits smaller through evidence rather than optimism.
Your working checklist
Checkmarks stay in this browser when storage is available. They do not submit information or complete a purchase.
Put it into practice
- Identify the exact manicure system.
- Choose and label fitting spares.
- Keep needed products in original containers.
- Check current carrier and authority requirements.
- Confirm destination removal supplies.
- Review the pouch after the trip.
Before you finish
- All products are identified.
- Spares fit named fingers.
- Current transport requirements were checked.
- Removal is planned at the destination.
Common questions
Can I decant nail glue to save space?
Keep it in its original labeled container. Losing warnings and product identity is not a useful space saving.
Are all removers permitted in carry-on bags?
No universal answer applies. Check the current rules for the particular product and route with the appropriate carrier or authority.
Do I need every nail size?
Usually a few correctly fitting spares are more useful than a loose mixed collection. Keep the full size map on your phone.
What if a tip lifts during a flight?
Do not improvise a repair in a cramped moving space. Follow the product guidance when you reach an appropriate stable setting.